


Podcast- DIY Solar Back Up System- Prepper Recon on The Midnight Patriot Show
DIY Solar Back Up System- Prepper Recon on The Midnight Patriot Show
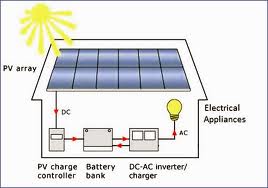
On today’s show, I describe the steps I used to build my starter solar back up power system. The great thing about the items I chose, is that they are scalable and I can add to them in the future to produce more energy if needed. The image below is a diagram of the four components of a solar power generator and how they are connected.
Podcast: Play in new window | Download
The first component I purchased was a 1000 watt inverter. The great thing about the type of inverter I chose is that it can be used on an automobile to generate electricity during power outages on its own. Simply connect the clamps to your car battery, and you have enough electricity to keep most refrigerators running. I bought the inverter at the beginning of hurricane season last year to provide back up power from the car with the intention of adding it to the solar system later when I had more funds available or could get the other components as gifts. I really like this inverter because of the ability to use it on the car, which effectively transforms my automobile into a generator, or as a component in my solar power system to produce renewable energy.
Next, I purchased the deep cycle battery. It is a 12 volt battery and is compatible with all of the other parts I intended on using. It can also be charged using any 12 volt battery charger and provide additional back up power when used with the inverter prior to purchasing the other components of the solar power system. I started small with a 35 Ah deep cycle battery, but can always add a 90 Ah or 200 Ah later. I found this battery to be the best deal for the money.
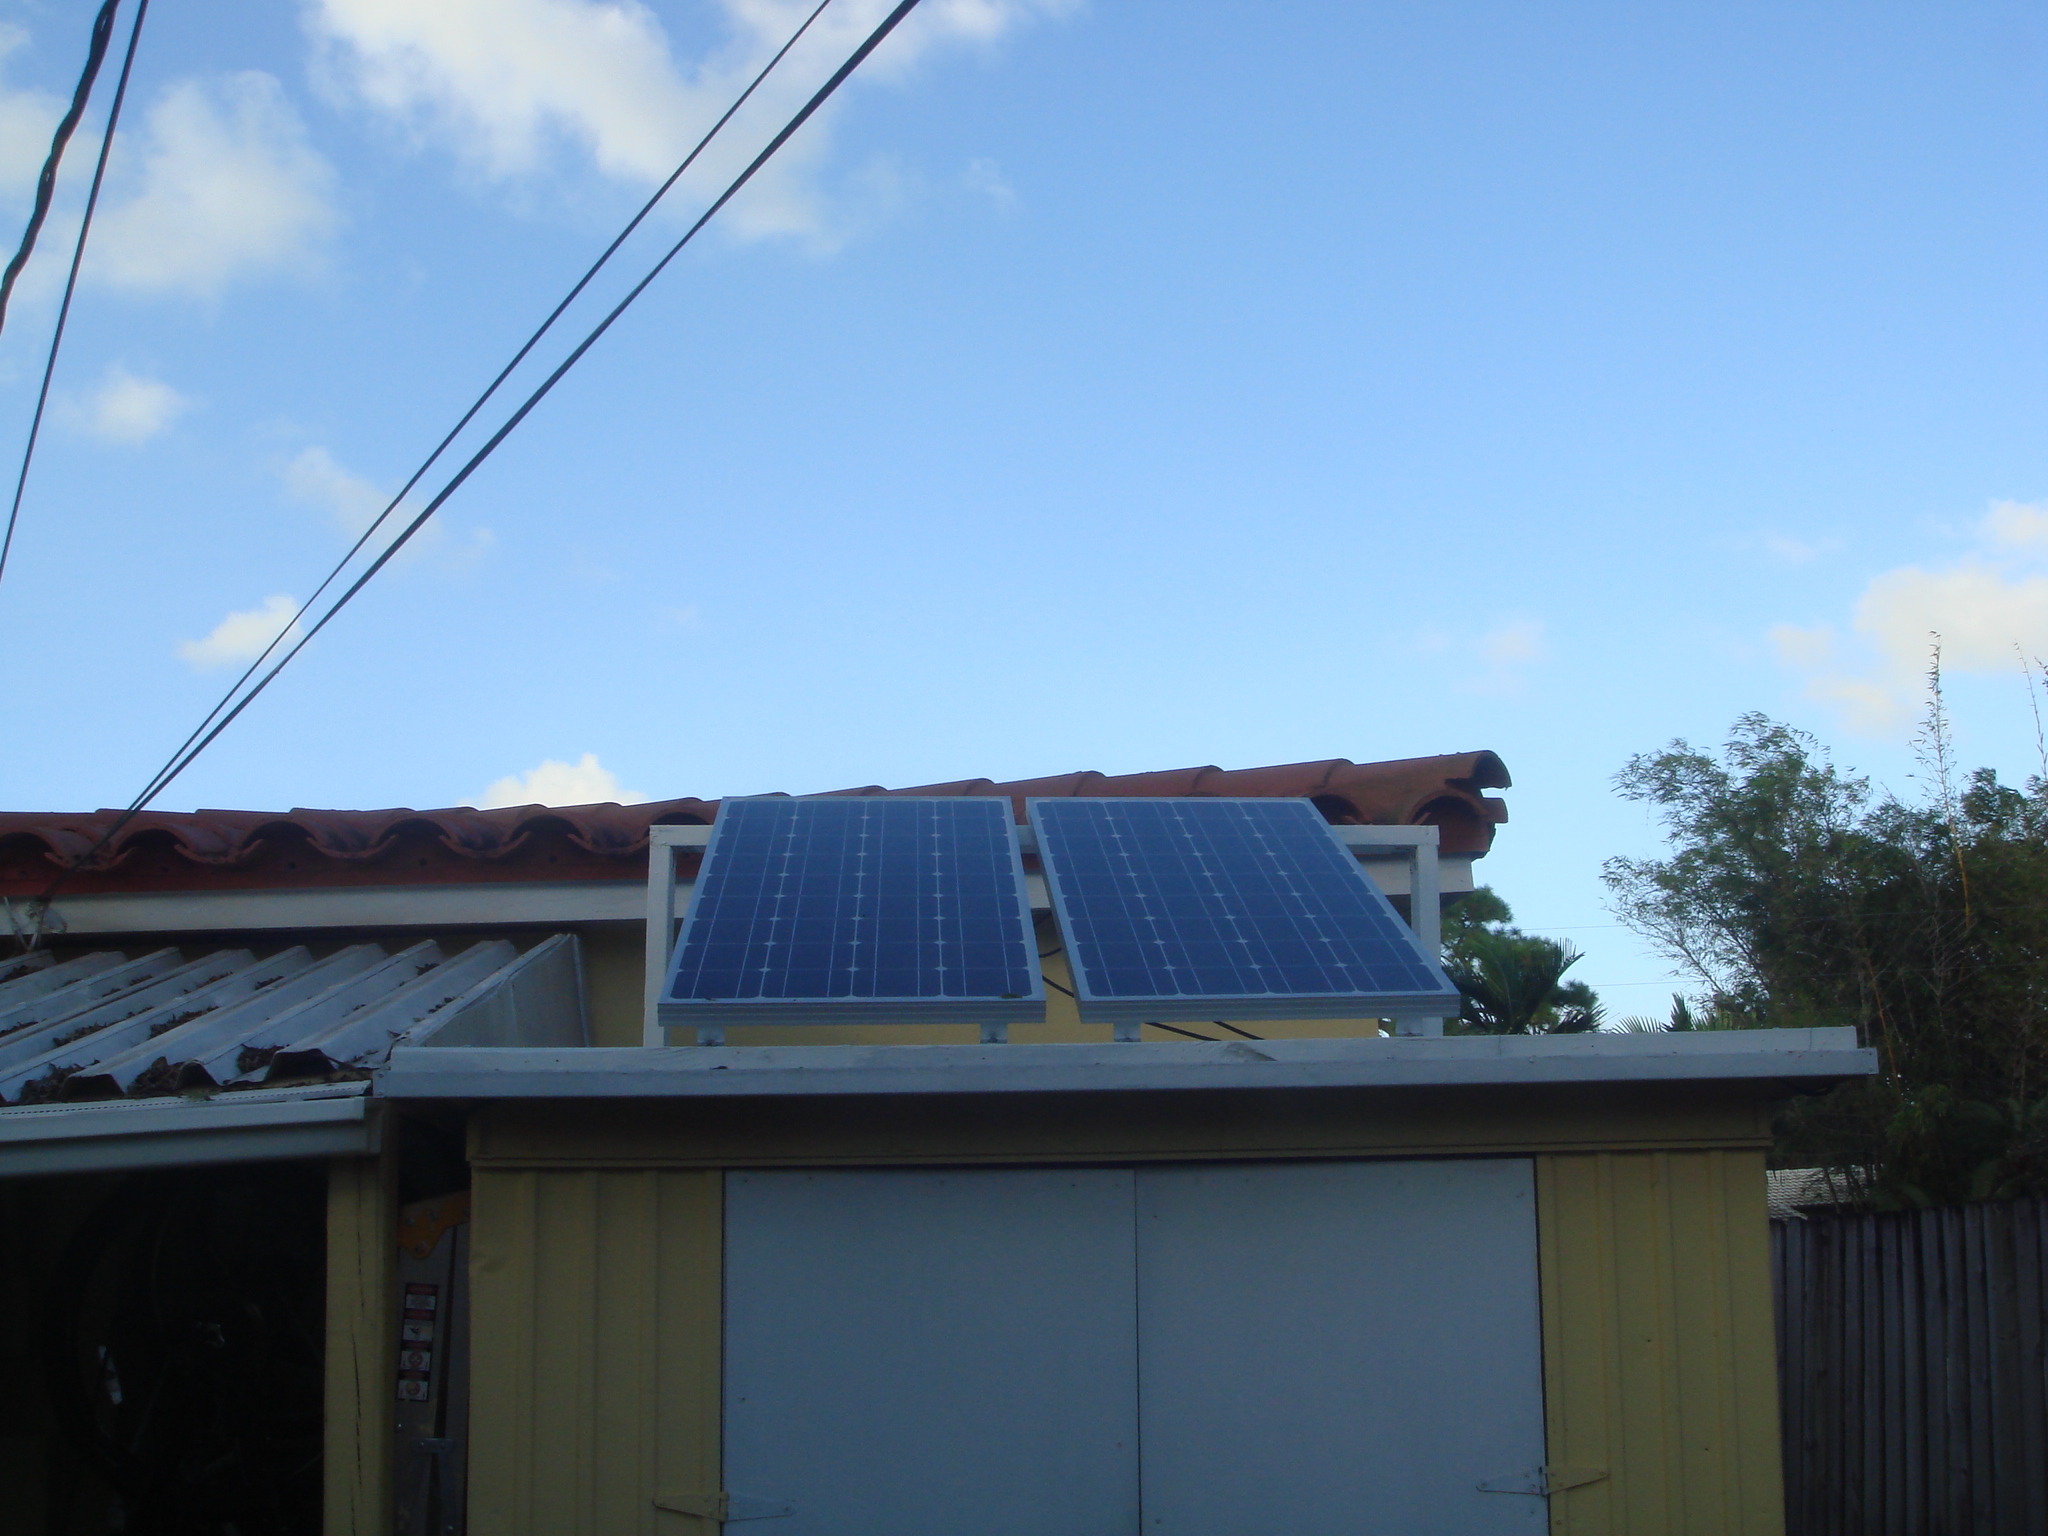
Next, my Christmas gift from the lovely Coupon Prepper, whom you may have heard in the first episode of the Prepper Recon Podcast, (also my wife), I got 2 100 watt panels, a very good middle of the road charge controller and the peripheral hookup equipment.
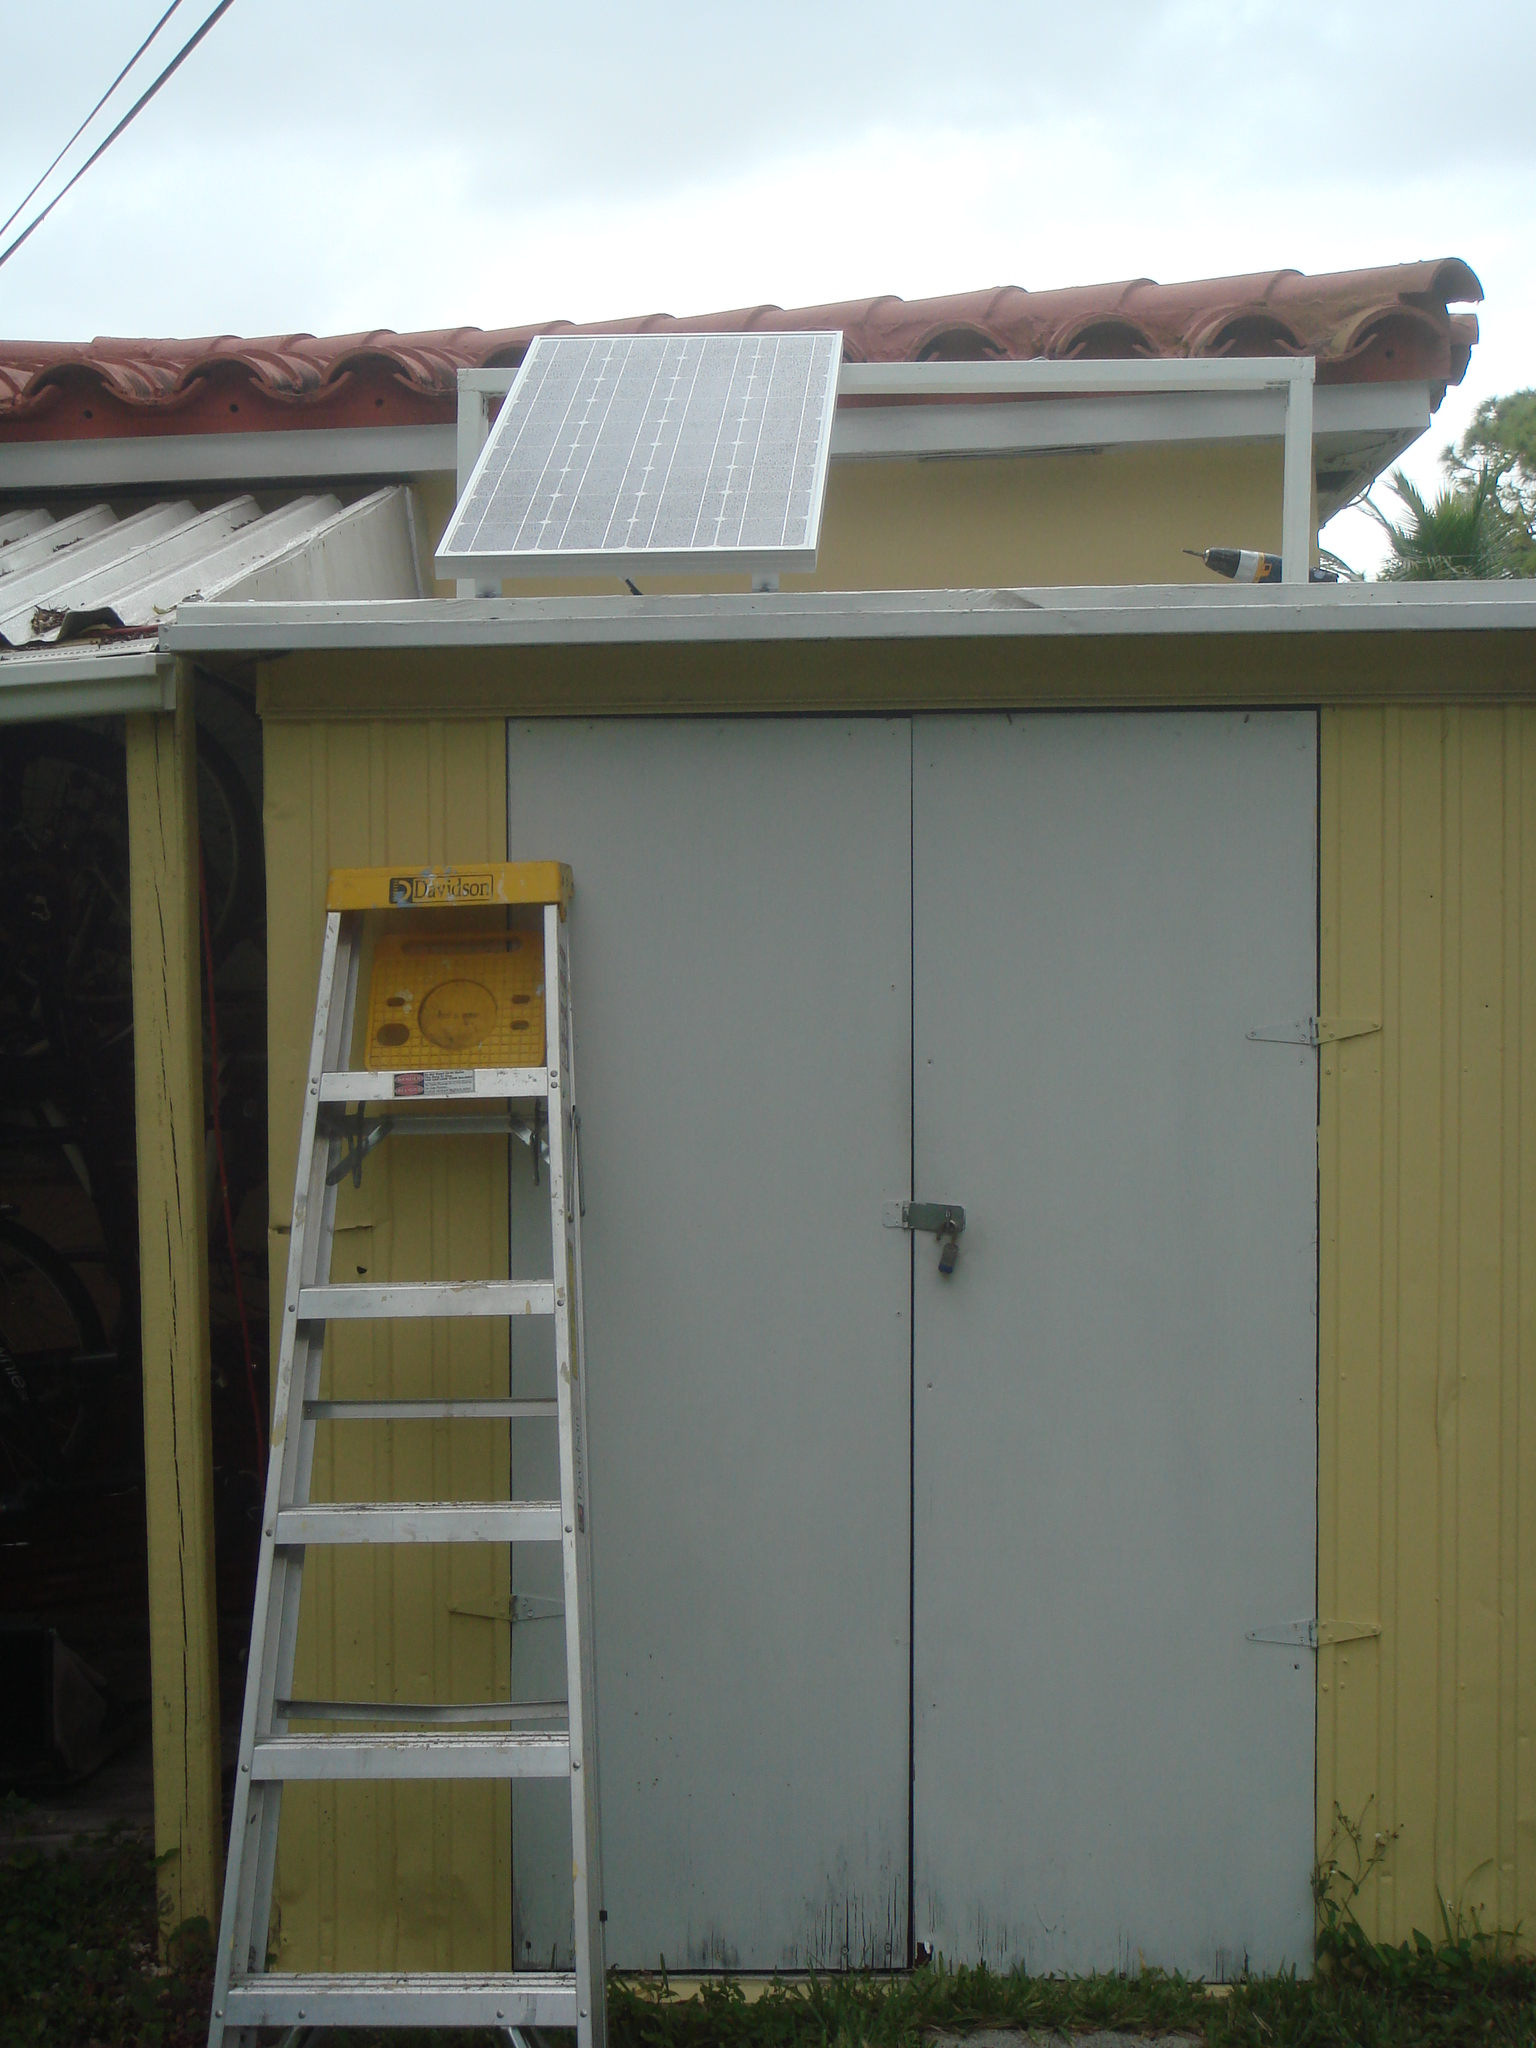
For the frame, I just use some scrap wood that I found on a pallet and painted. I secured it to the top of my shed as seen below. If you mount your panels to a shed roof like I did, be sure to drill the edges and not the part of the roof that is covering the inside of your shed. The Z brackets attached the panels to the two parallel wood board being used as a mount. Make sure they are facing the sun!

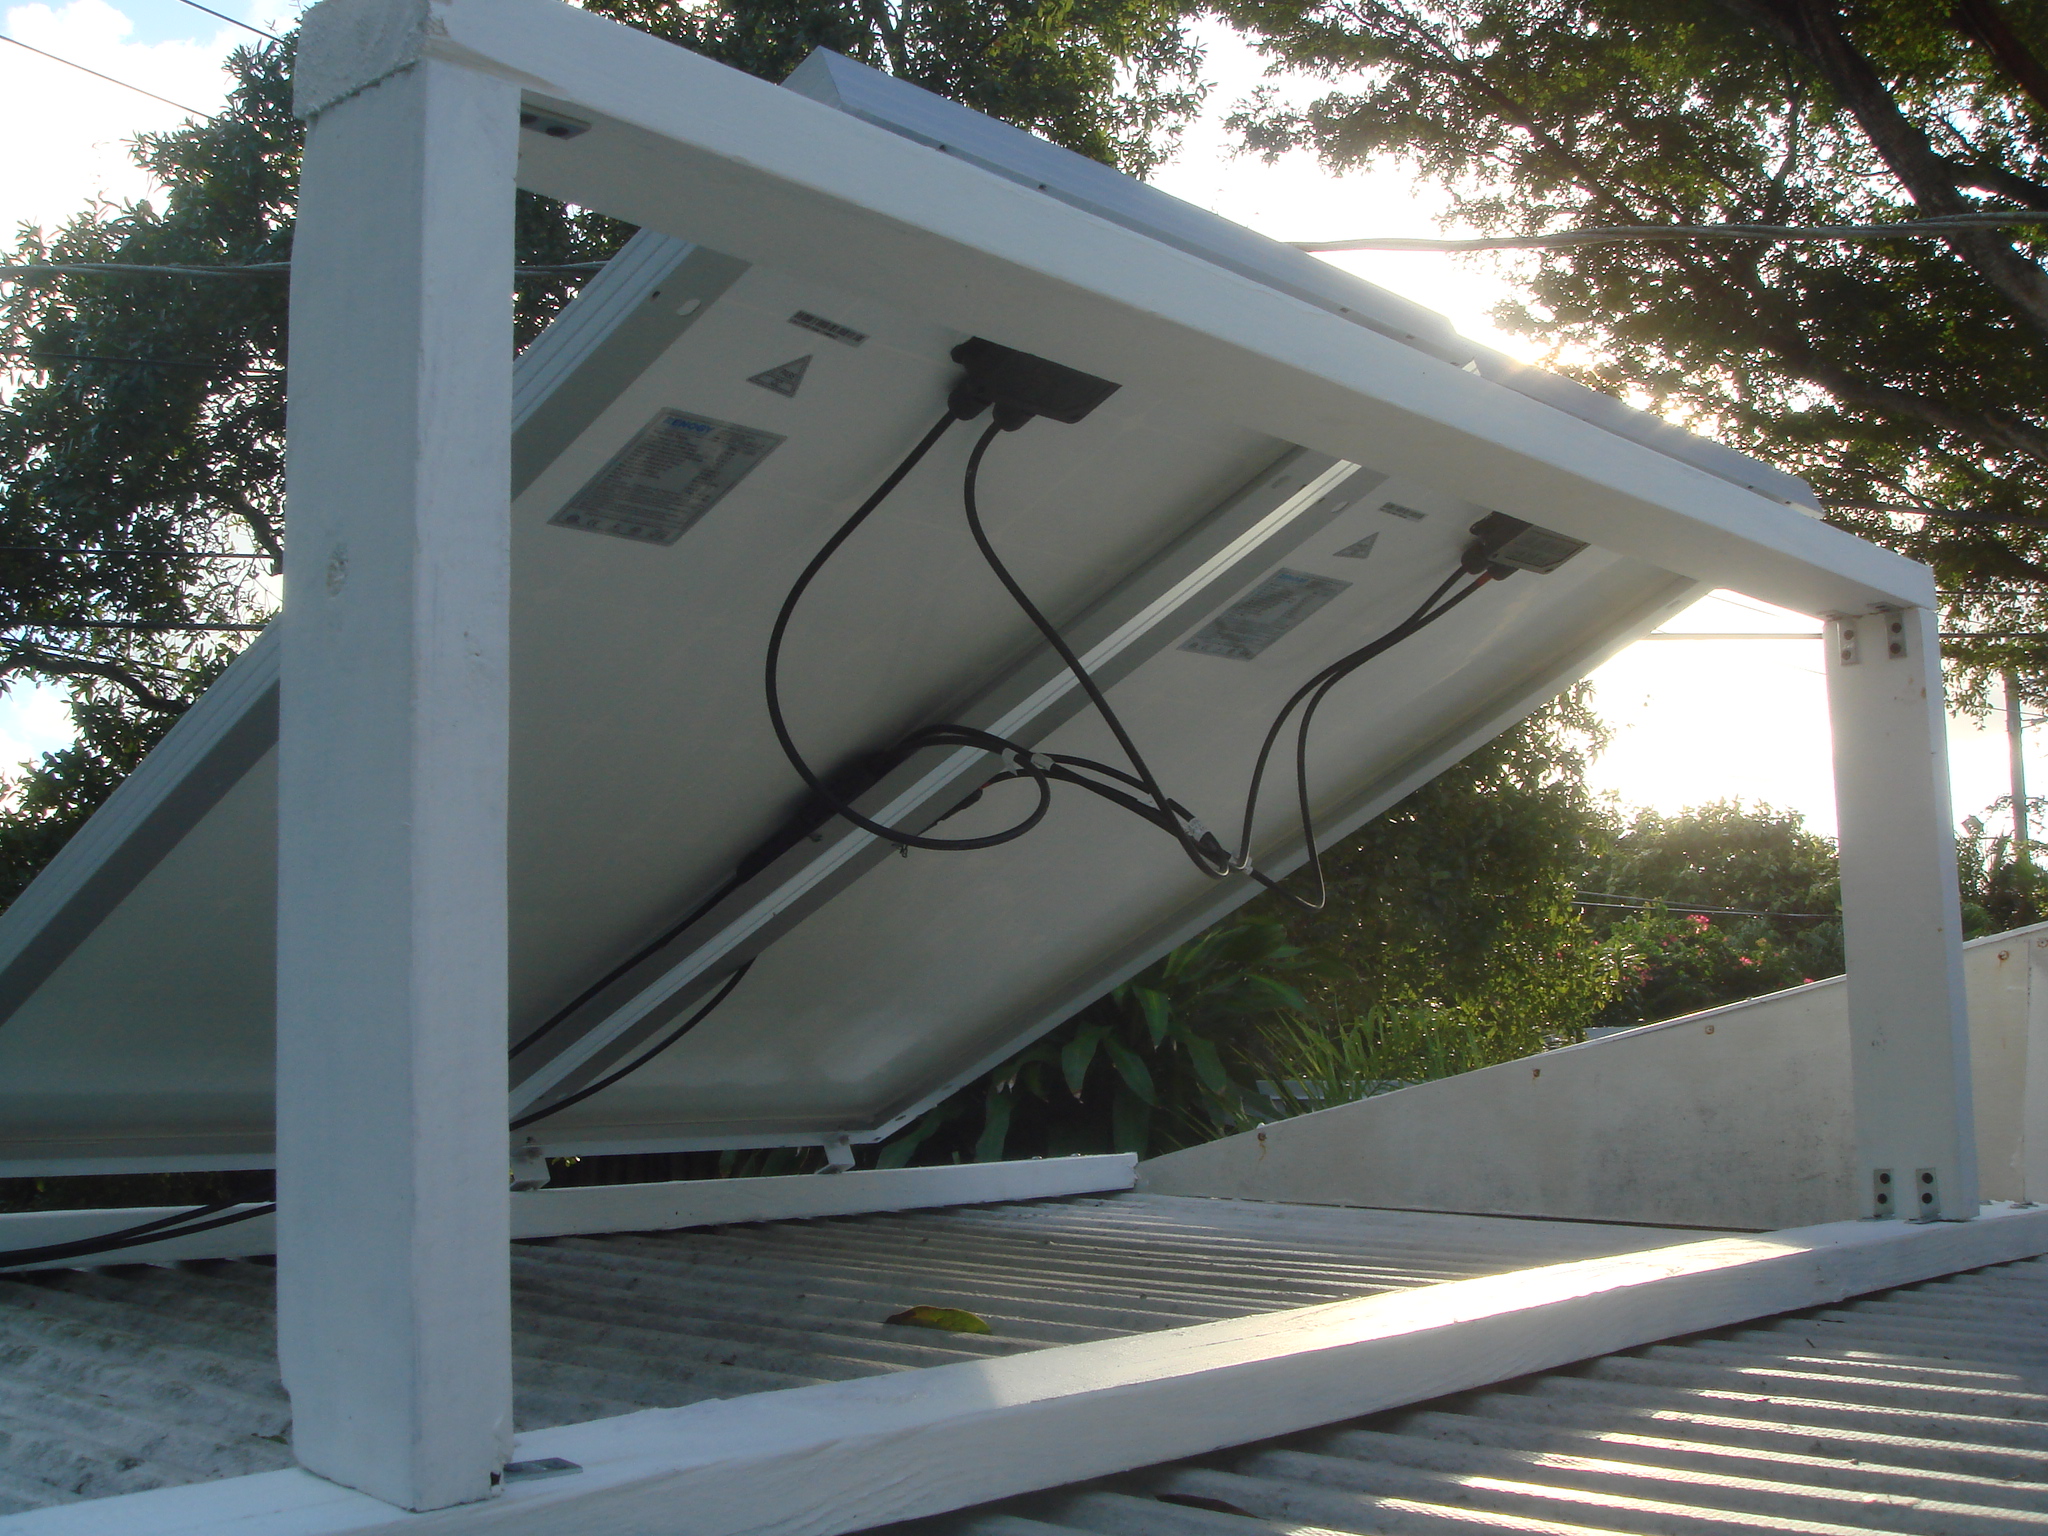
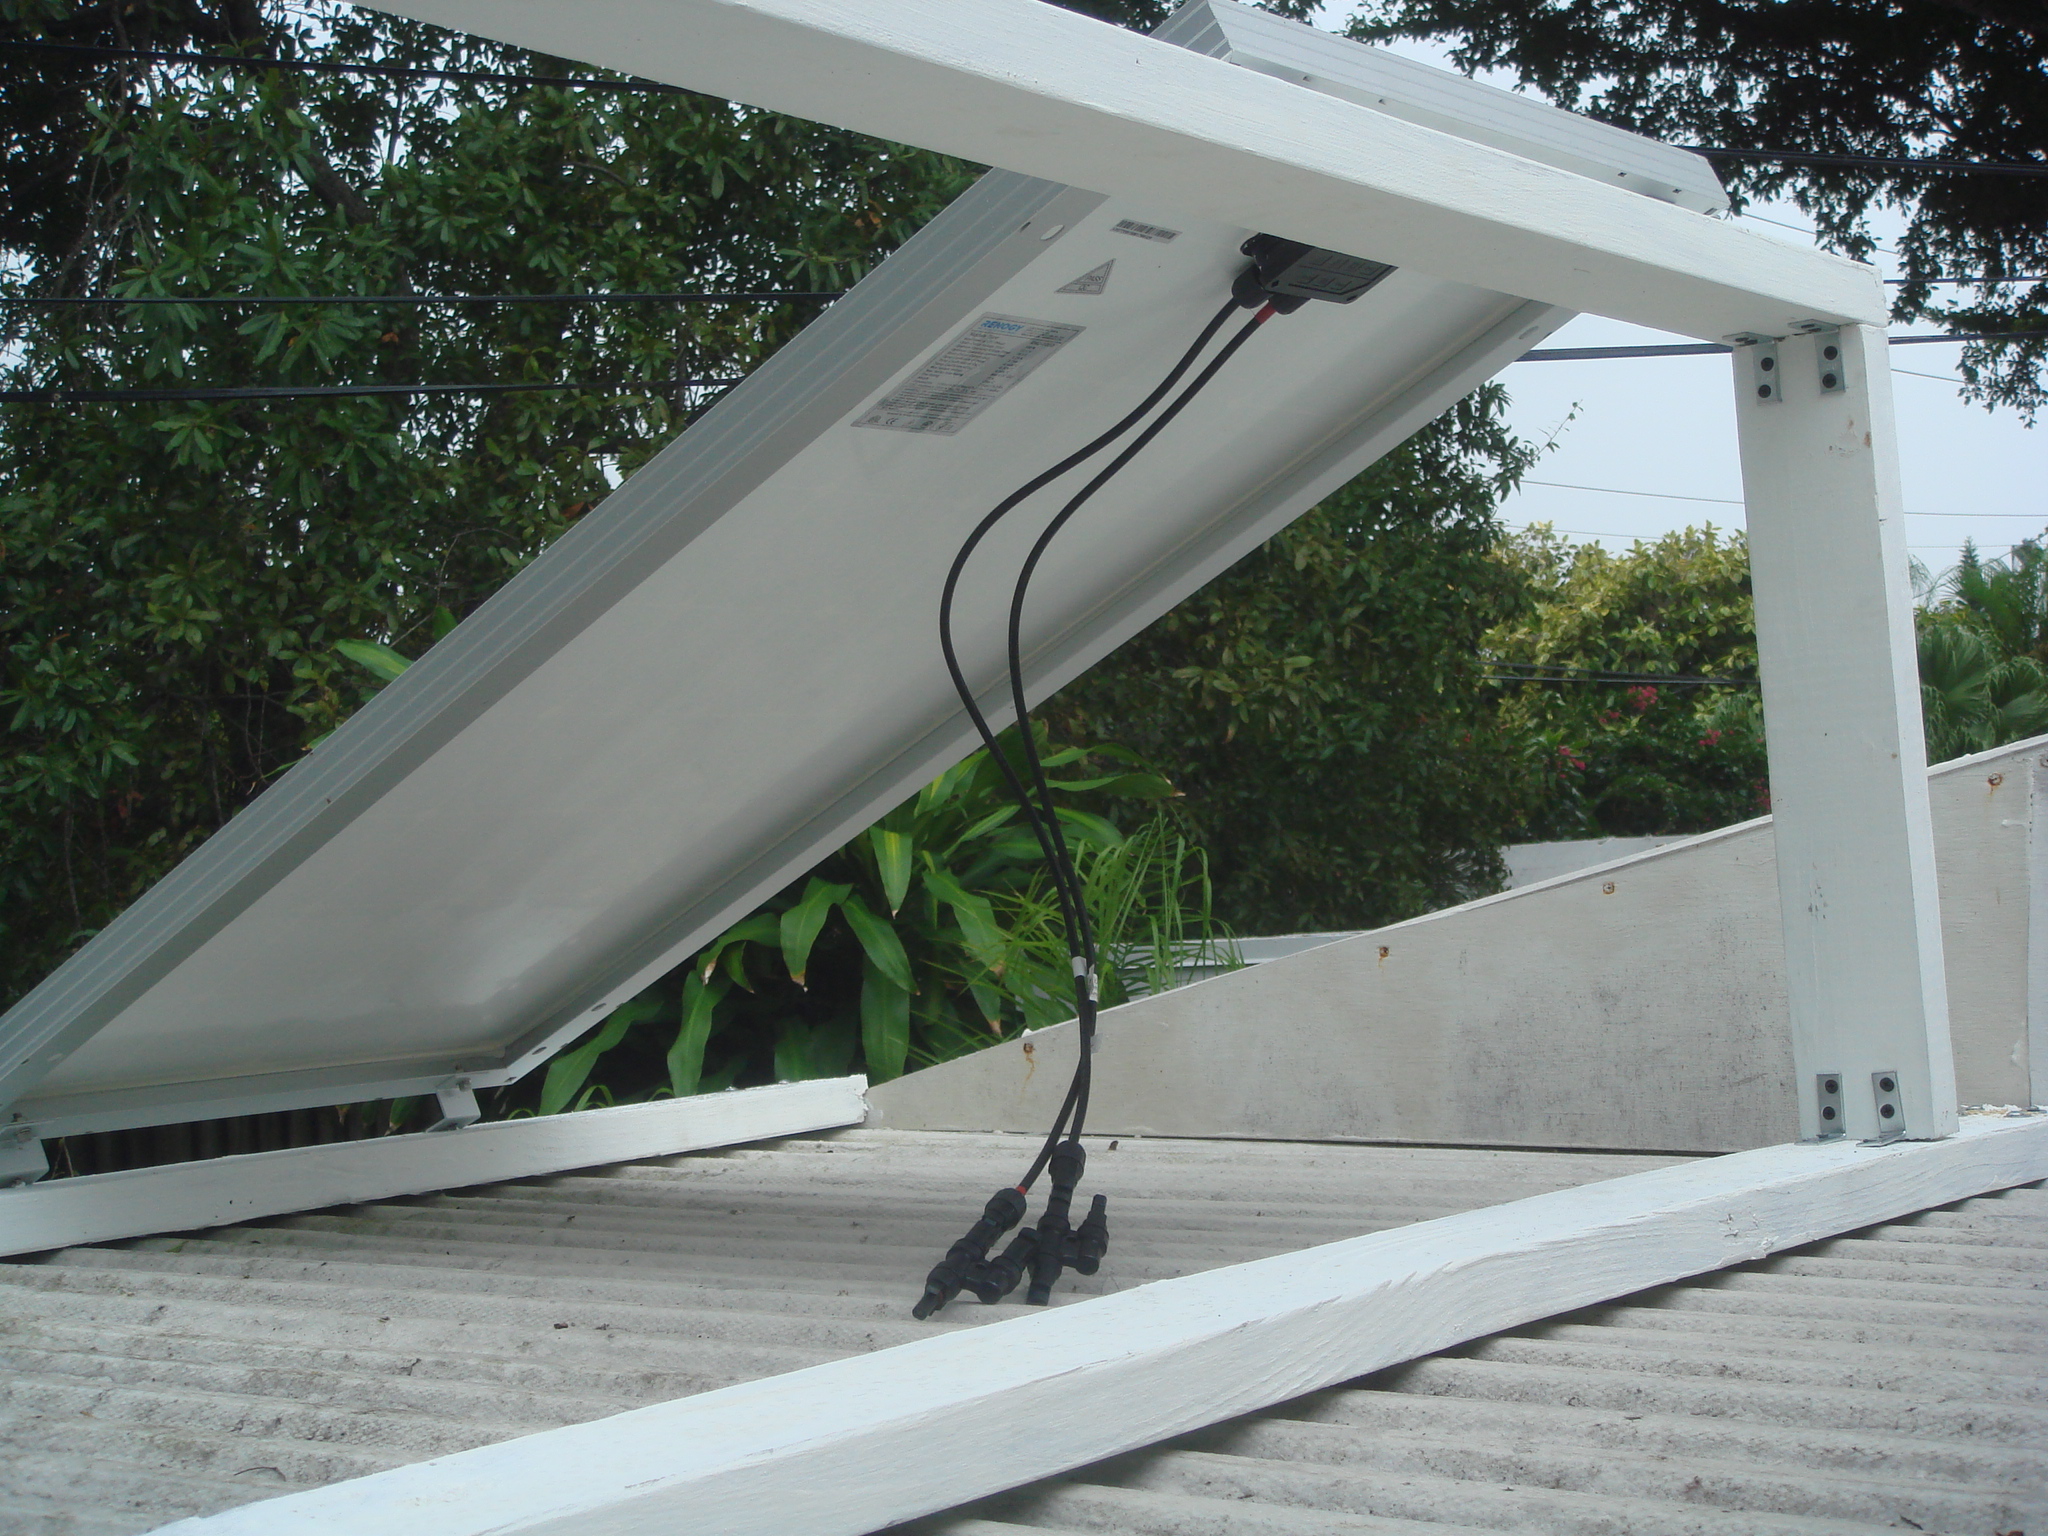
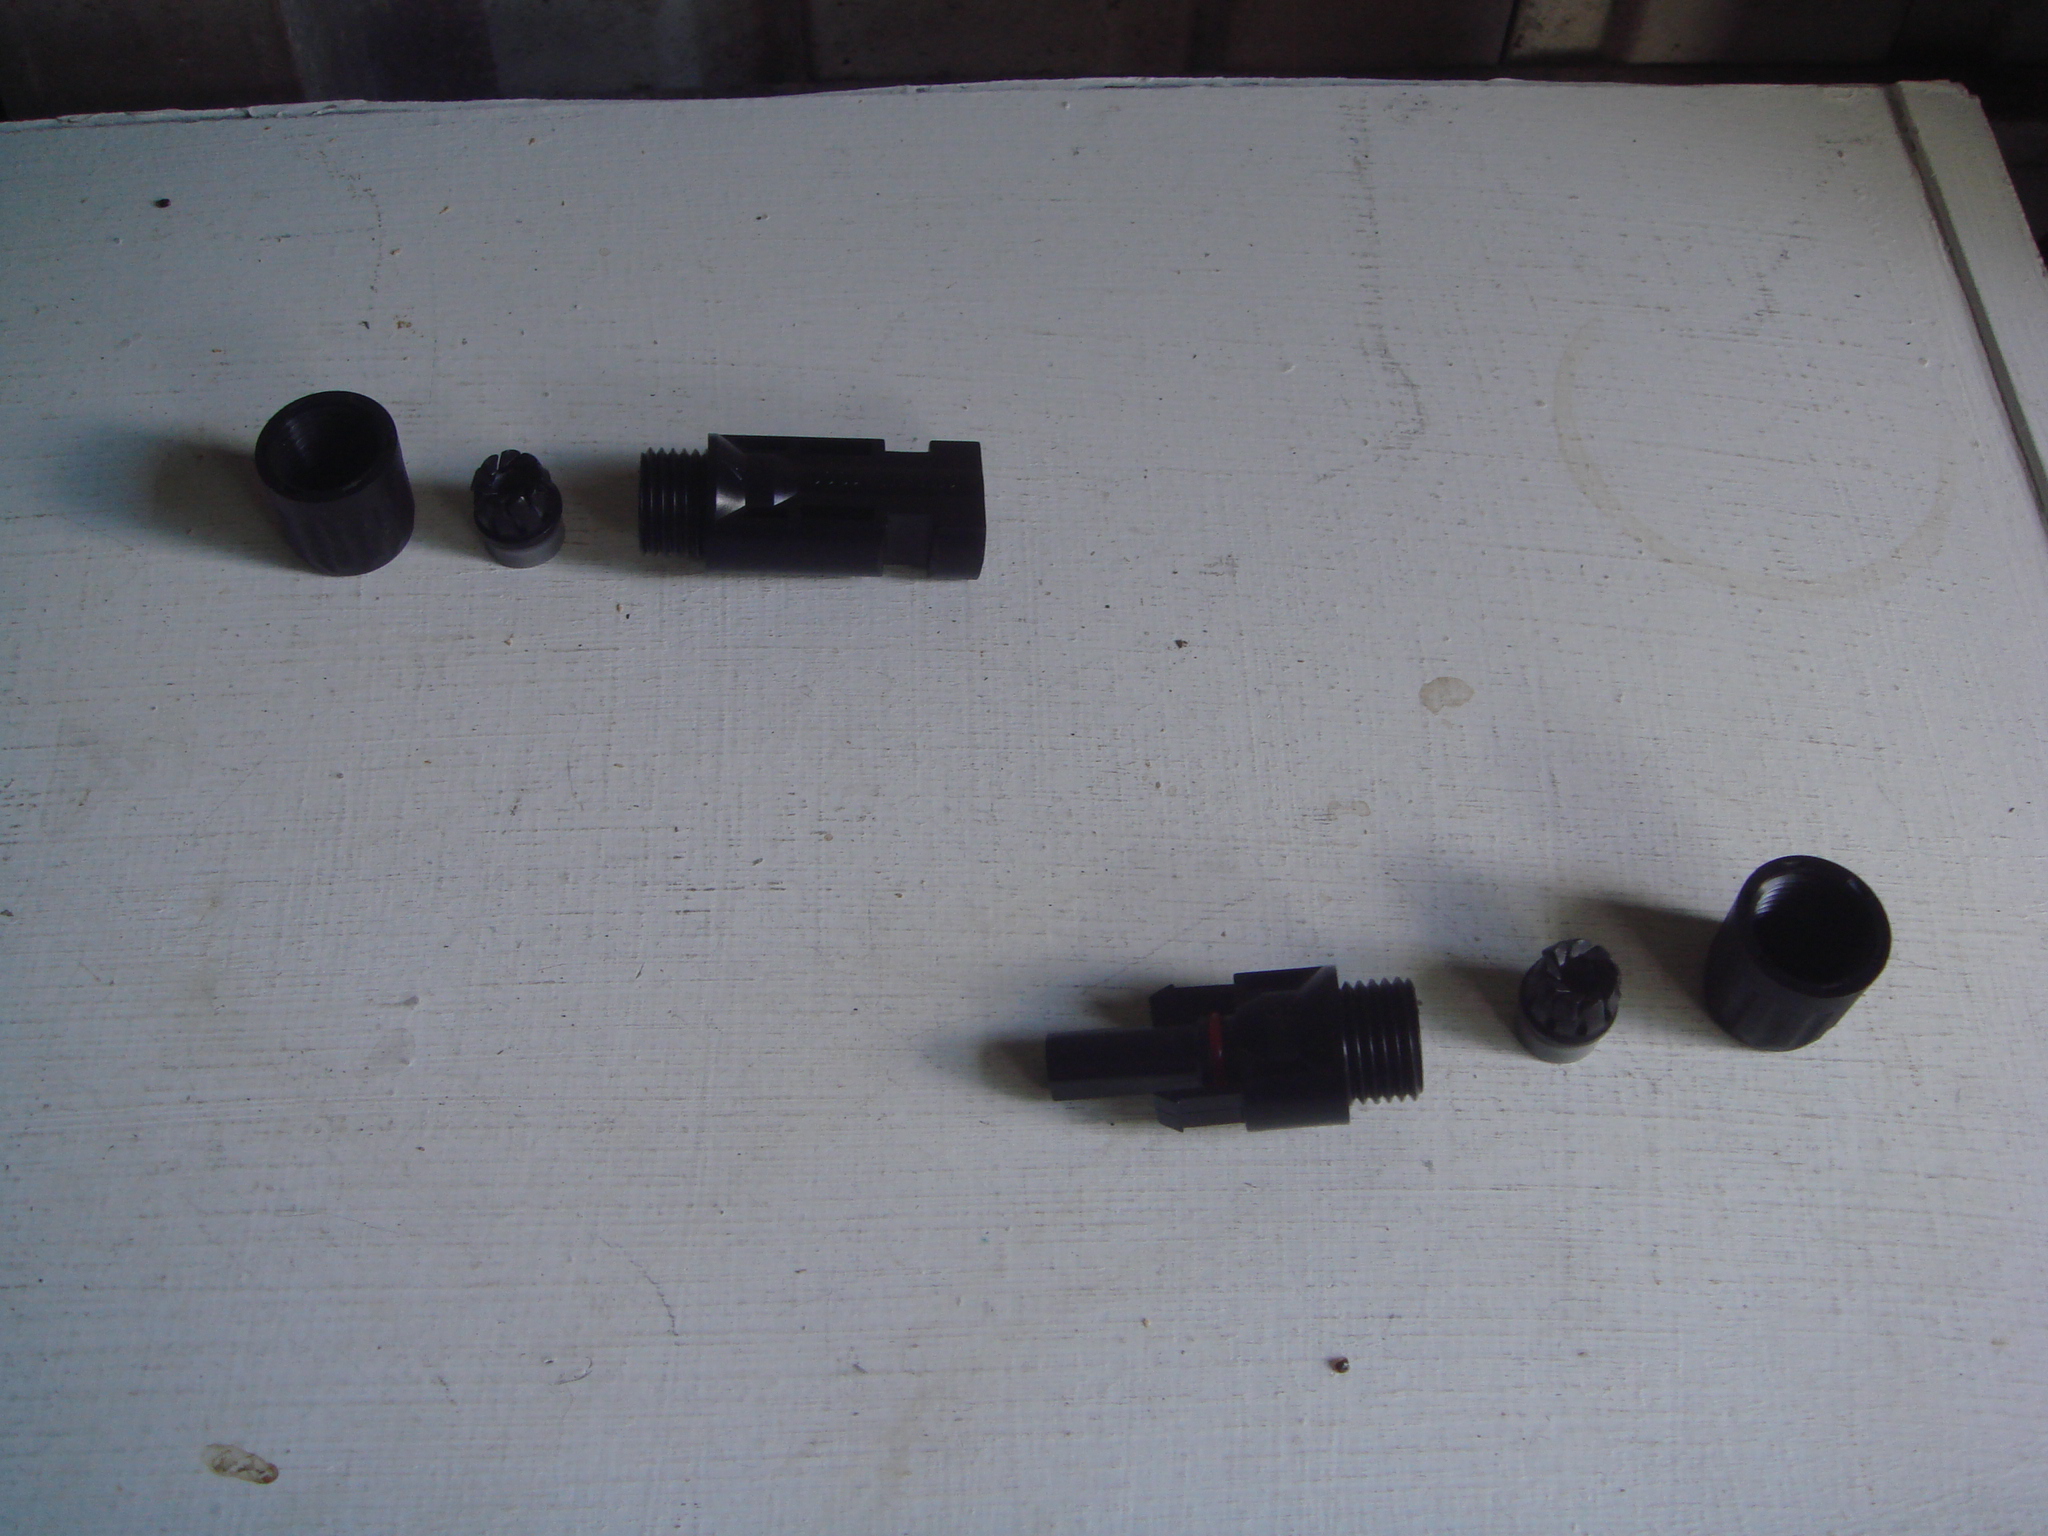
Each panel has a positive and a negative wire that went into MC4 T branch couplers so that I only have one positive and one negative cord coming off the roof and into the shed. If you had 3 panels, you would need an extra set of the MC4 T branch couplers. The connections are easily taken back apart, so you can add another panel with another pair of couplers when ever you like.
The cables that go into the shed had the MC4 connectors on both sides, but the charge controller needed eyelet connectors. The Sunforce charge controller I bought came with 4 eyelet connectors. I simply unscrewed the MC4 connectors inside the shed and replaced them with the eyelets. Hold on to those MC4s, they can be reused.
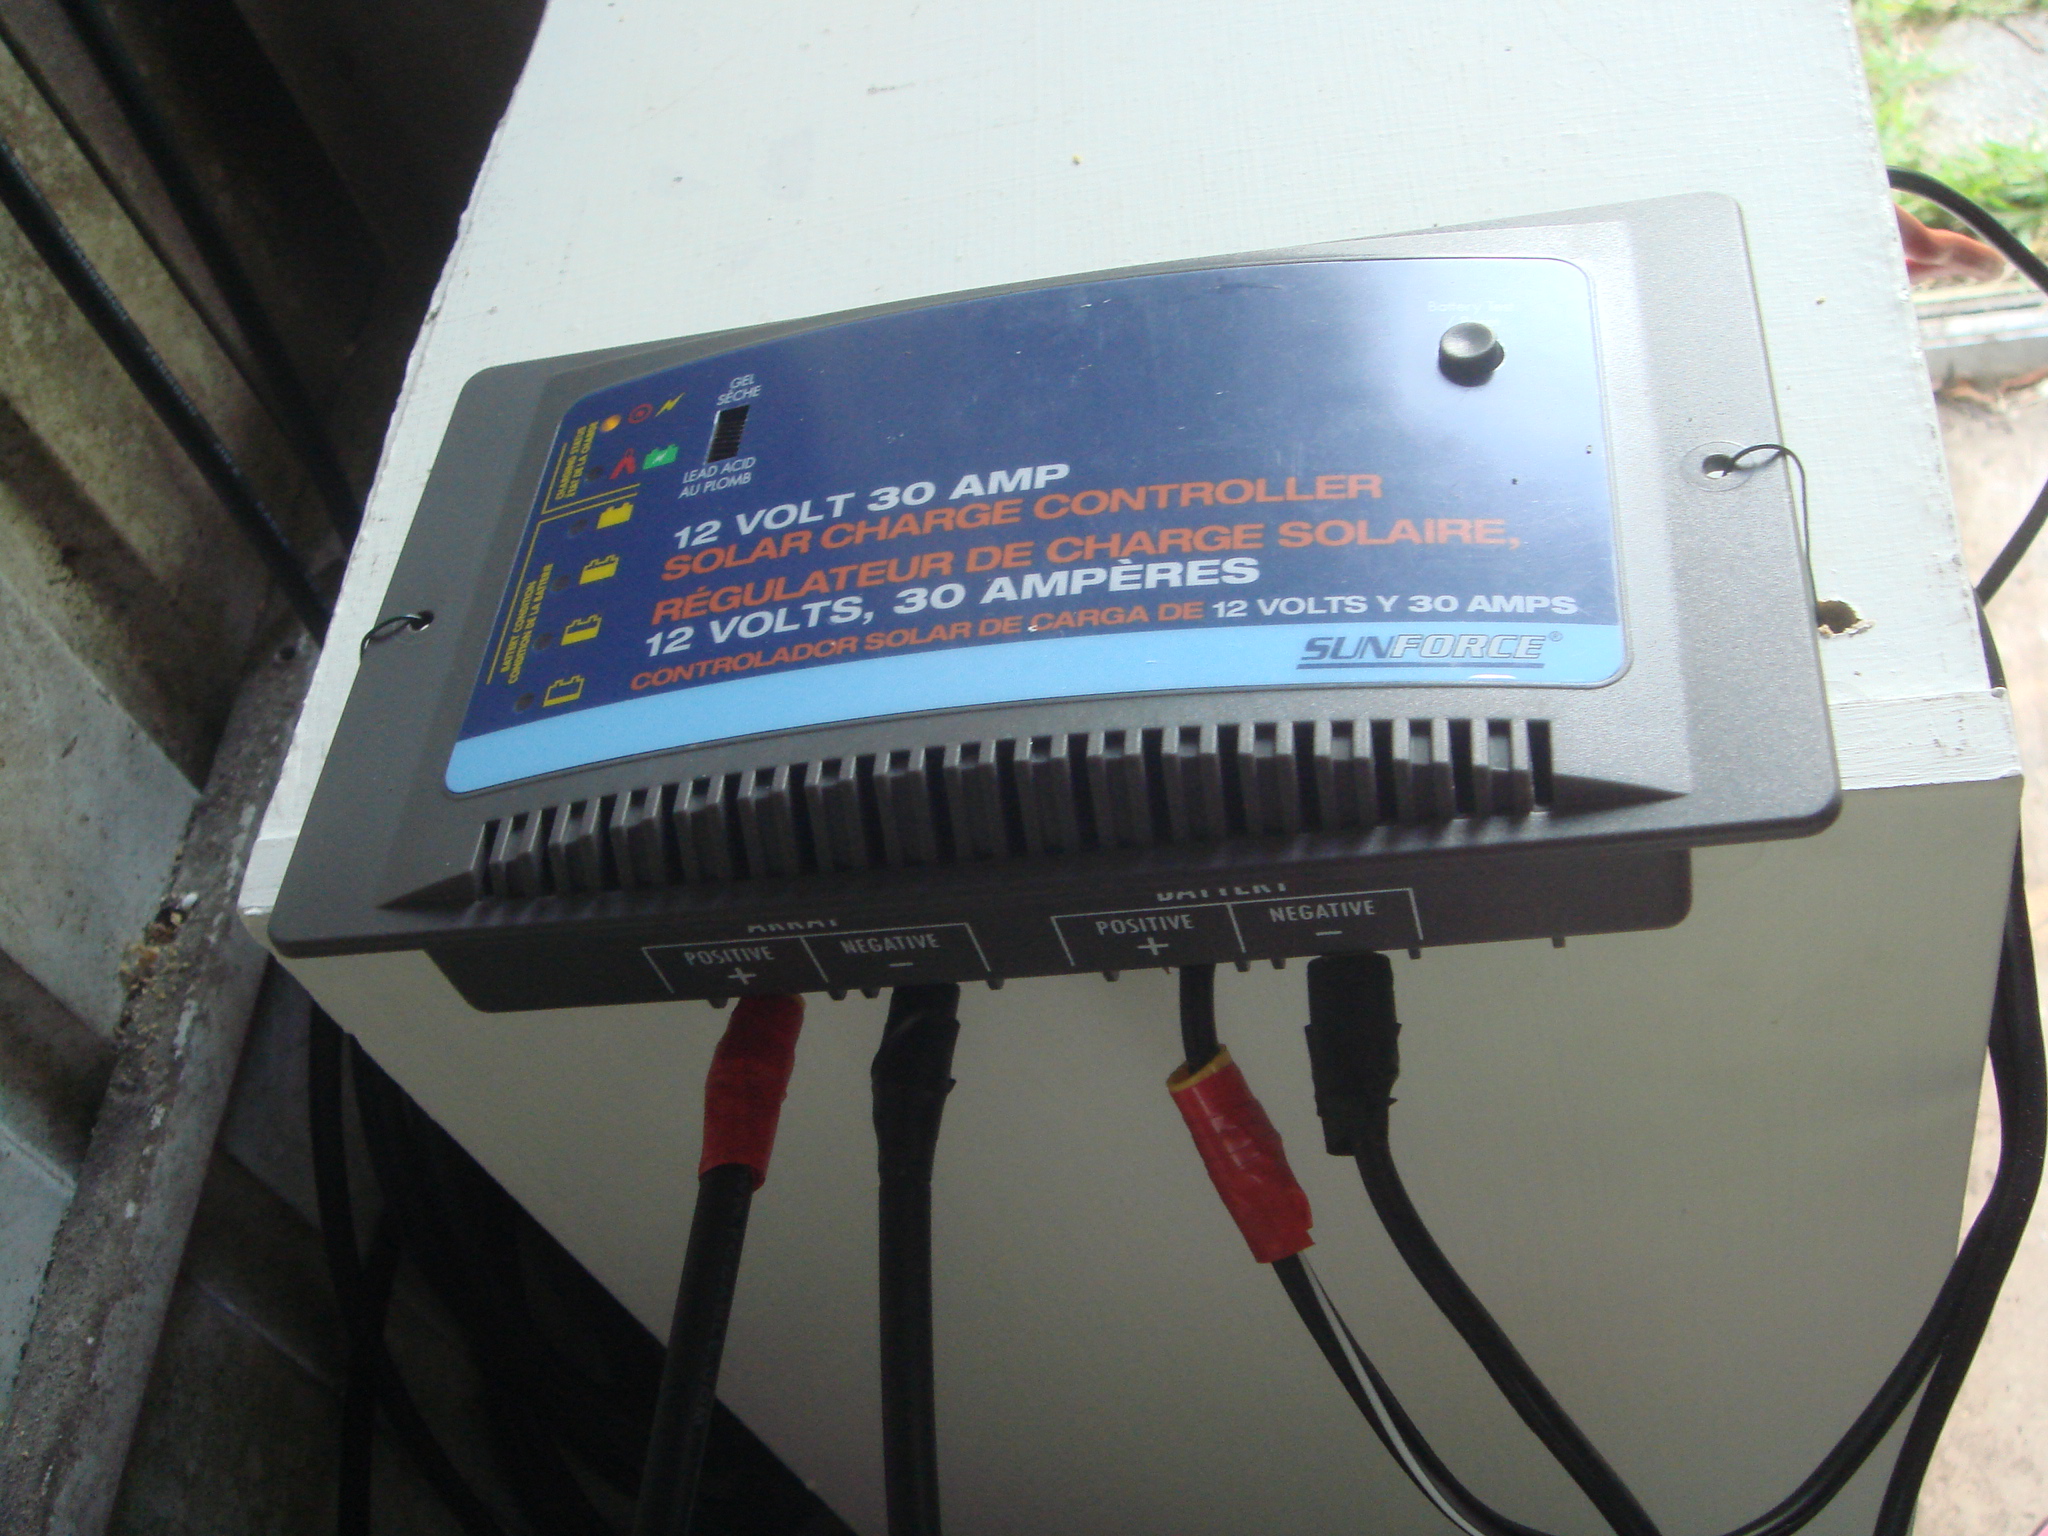
The charge controller clearly instructs where to attach the cables in from the panels and out to the battery. I did not purchase cables to go from the charge controller to the battery. The inverter came with cables to plug into a cigarette lighter. The are completely useless for that purpose as a 1000 watt inverter will pop your car cigarette lighter fuse in a second. One side of those cables already had eyelet connectors which I attached to the battery. I used the second set of eyelet connectors to replace the cigarette lighter plug. I just cut it off, stripped the wire back a half inch or so and put the eyelet connectors on. You could even just use the raw wire without the connectors as the screws on the underside of the charge controller will clamp the raw wire.
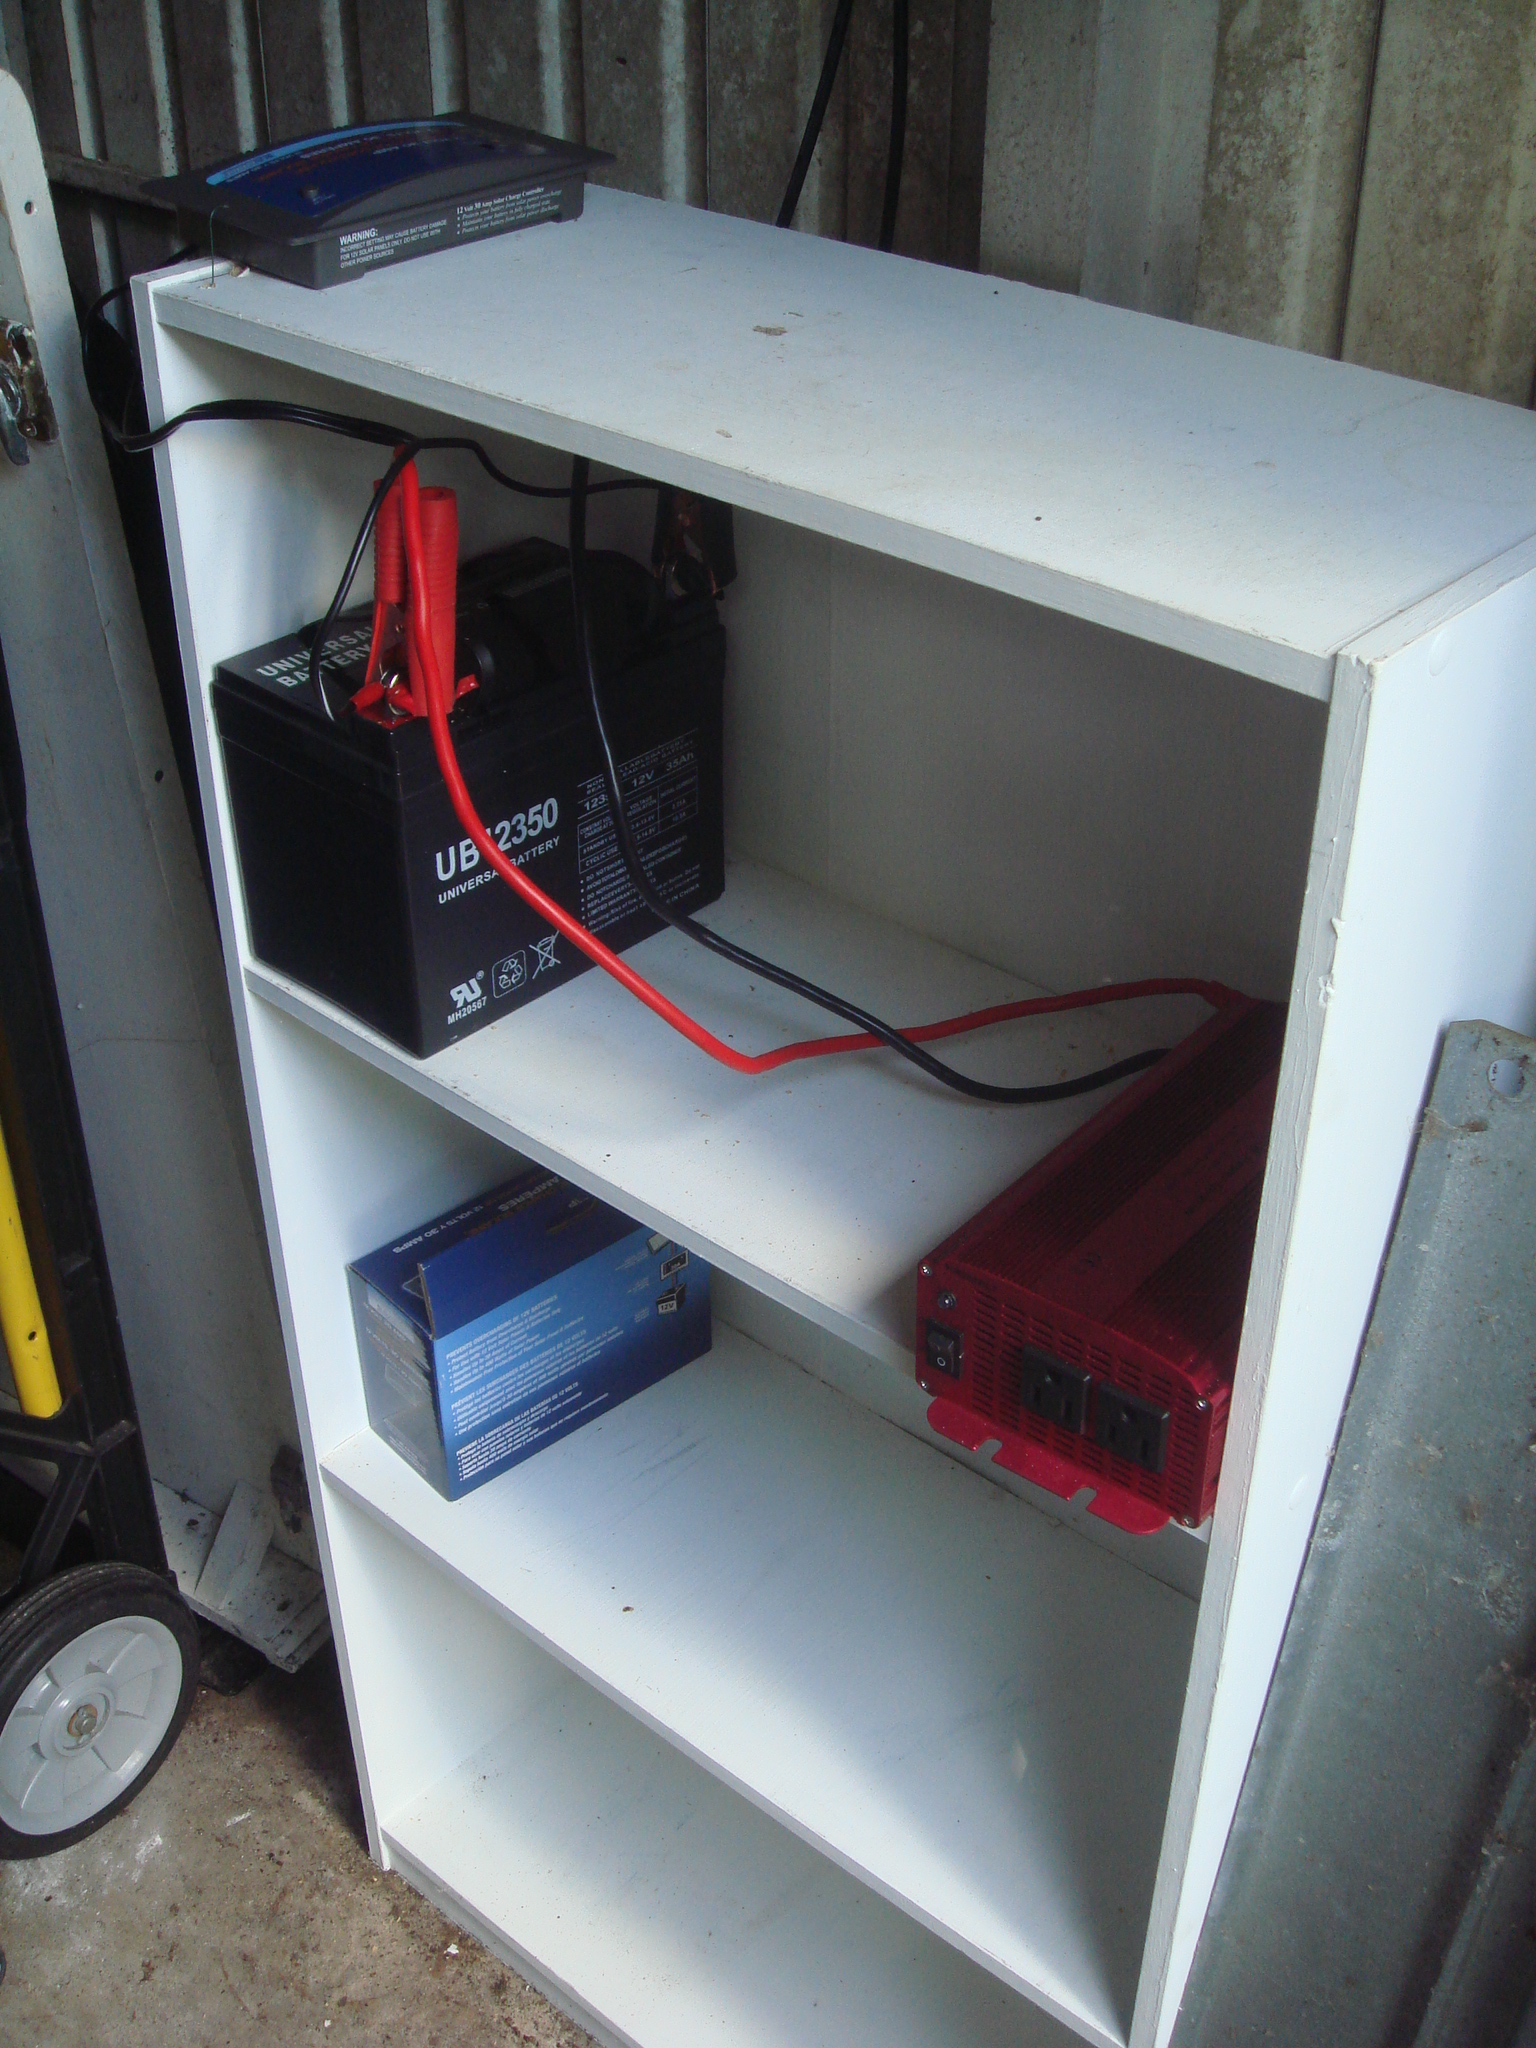
The clamps from the inverter clamp on the battery and Voila! You have solar energy. My system is currently powering my security light, charging my power tools and my electric bike which I use about five days a week. In an emergency, I hope that will keep my fridge working. I’ll be running a test on that in the next week or two to see if I need to add another panel.
(2) panels $339.98, (2) sets of Z brackets $25.9, (1) pair MC4 T branch couplers $14.95, (1) pair heavy duty solar cables with MC4 connectors $41.95, (1) 30 amp charge controller $66.21, (1) 1000 watt inverter $64.99, and (1) 35Ah 12volt deep cycle battery $63.14 to the best of my knowledge, the shipping was free on all of the items.
Total price: $617.12
If you wanted to start with just one panel, and add another later, the price would be $419.23 as you would only need one set of Z brackets and you could postpone the purchase of the MC4 T branch couplers. The price can also be offset by specific tax credits and deductions. If you go online, there are many free tax calculators available that can help you determine any tax breaks you may be entitled too.
If you do decide to build this system, and buy your components from Amazon, please click through the links on the page as this helps to support PrepperRecon.com. The cost is the same to you, but we get a small 4% commission when you click through to Amazon from our page.
Happy prepping and God bless!
MDG